How to Improve Webinar Audio Without Overcomplicating It
A webinar can survive a slightly soft camera image. It rarely survives a presenter who sounds distant, distorted, or buried under room echo. Knowing how to improve webinar audio is less about adding expensive gear to every desk and more about controlling the full signal path: microphone, room, gain, processing, platform settings, and backup.
For educators, corporate communications teams, event producers, and creators, the goal is simple: every attendee should understand every speaker without having to raise the volume, fight background noise, or guess at a question from the audience.
Start With the Microphone, Not the Software
Audio quality begins at the point of capture. Webinar software can reduce noise and level uneven speech, but it cannot fully restore detail that a poor microphone placement never captured. A laptop microphone is convenient, yet it sits far from the speaker, picks up keyboard noise, and captures reflections from the desk and walls.
Choose the microphone type around the presenter and production environment. A USB or XLR dynamic vocal microphone is often the practical choice for a desk-based host in a typical office because it favors close speech and can reject more room sound than a sensitive condenser model. Position it about 4 to 8 inches from the speaker's mouth, slightly off to one side. This angle reduces plosive bursts from P and B sounds while preserving a direct, full voice.
For standing presenters, a lavalier microphone keeps the setup visually clean and maintains a stable distance as the presenter moves. Clip it high on the chest, ideally 6 to 8 inches below the mouth, and keep it clear of jewelry, scarves, hair, and fabric that can create rubbing noise. For panels or conference rooms, a purpose-built conference microphone with a suitable pickup pattern is usually more reliable than placing one small desktop microphone at the center of a large table.
Shotgun microphones have a role, but they are not magic long-distance solutions. They work best when placed just outside the camera frame and close enough to the talker. In a reflective room, a shotgun placed too far away will still capture echo. A CKMOVA supercardioid or vocal microphone matched to the speaker position can produce more usable webinar audio than a more expensive mic placed incorrectly.
Control Distance and Room Reflections
The fastest improvement is usually reducing the distance between the mouth and microphone. Halving that distance gives the voice more presence relative to the room, computer fans, HVAC systems, and nearby conversations. This is why a properly positioned entry-level microphone can outperform a premium microphone sitting two feet away on a desk.
Room acoustics matter just as much. Hard surfaces reflect speech back into the microphone milliseconds after the direct sound, creating the hollow, tiring quality commonly mistaken for a microphone problem. You do not need to build a recording studio for every webinar. Start by moving the presenter away from bare walls and windows, closing doors, switching off unnecessary fans, and using soft furnishings already available in the space.
In a dedicated webinar room, add absorption at the main reflection points around and behind the presenter. Curtains, rugs, acoustic panels, and upholstered furniture can reduce audible reflections. Avoid placing acoustic treatment only behind the microphone. The relevant surfaces are those that reflect the presenter’s voice into the mic.
Set Gain for Headroom, Not Maximum Volume
A clean microphone can still sound poor when gain is set too high. Excess gain raises background noise and can overload the microphone preamp, audio interface, camera input, or webinar platform. Once clipping occurs, no post-production adjustment can remove the harsh distortion.
Ask each presenter to speak at their actual presentation level, not at a quiet test level. Set the input gain so normal speech averages at a healthy level and louder phrases peak around -12 dBFS to -6 dBFS in your meter. This leaves headroom for emphasis, laughter, and unexpected volume changes.
Then adjust listening volume separately. Gain determines how strongly the audio enters the system. Headphone or speaker volume determines how loudly you hear it. Treating these as the same control is a common reason webinar feeds become distorted.
If you use a camera, switcher, or audio interface with multiple gain stages, identify which device is the primary preamp. Keep unnecessary stages near unity gain and avoid boosting the same signal repeatedly. A compact live-production workflow is easier to troubleshoot when one operator can clearly see where the signal enters, where it is mixed, and where it reaches the streaming platform.
Use Processing Carefully
Light processing can make webinar speech more consistent. Heavy processing can make it sound artificial, pump background noise between phrases, or cut the beginning and end of words. The correct amount depends on the speaker, microphone, room, and platform.
A high-pass filter is often useful for removing low-frequency rumble from air conditioning, desk vibration, and handling noise. For spoken voice, filtering below roughly 70 to 100 Hz is a sensible starting point. A mild compressor can help keep a presenter audible when they move slightly off mic, but it should not be used to compensate for poor placement.
Noise suppression is useful for intermittent background noise, especially for remote guests. Test it before the live session. Aggressive settings can make speech sound metallic or cause words to disappear when a speaker talks softly. Likewise, echo cancellation should be enabled when a presenter uses open speakers, but it may be unnecessary or harmful when everyone wears headphones and uses a professionally routed audio feed.
Avoid stacking the same feature across several devices. For example, noise suppression in an audio interface, conferencing app, browser-based webinar tool, and streaming encoder can produce an overprocessed result. Decide where each job happens, then disable duplicate processing elsewhere.
Monitor What the Audience Receives
Operators often monitor the local microphone but fail to monitor the final program output. Those are not always the same signal. A switcher may have the wrong audio source selected, a platform may apply automatic gain control, or a remote guest may be routed to a recording but not to the live audience.
Use closed-back headphones during setup and assign someone to listen to the program feed. Check the presenter, remote guests, prerecorded clips, and any audience Q&A source. Listen for hum, lip-sync delay, doubled audio, and sudden level changes when scenes switch.
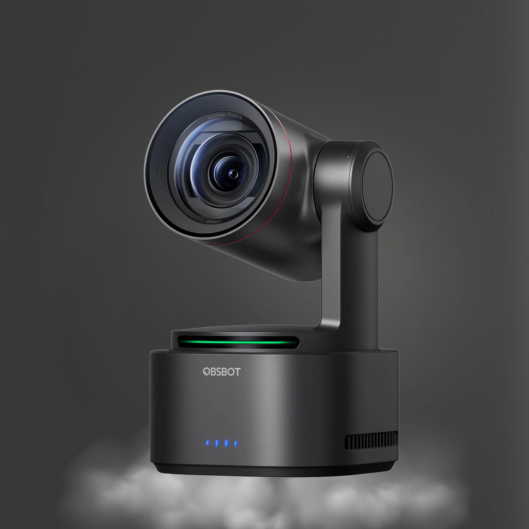
For multi-camera webinars, keep audio independent from camera switching whenever possible. An OBSBOT PTZ or AI tracking camera can follow the presenter and improve framing, but camera movement should not determine whether the correct microphone is live. Route microphones through a dedicated mixer, interface, or switcher audio input, then keep that source active as video angles change.
A short pre-event checklist prevents most preventable failures:
- Confirm the selected microphone in the webinar platform and operating system.
- Verify presenters are wearing headphones when remote audio could feed back.
- Check speech peaks, not just idle meter activity.
- Play any media clips through the actual program output.
- Record a 30-second test and review it on a second device.
Plan for Remote Speakers and Audience Questions
Remote presenters introduce variables you cannot fully control: untreated rooms, Bluetooth headsets, unstable internet connections, and automatic audio settings. Give guests simple instructions well before the event. Ask them to use a wired USB microphone or headset when possible, join from a quiet room, and avoid sharing a space with another device connected to the same webinar audio.
For high-stakes sessions, schedule a technical rehearsal. Confirm microphone selection, check whether the platform is applying aggressive noise reduction, and establish a backup connection method such as a phone dial-in or secondary device. A backup does not need to match the primary production quality. It needs to keep the speaker understandable if the primary path fails.
Audience questions require separate planning. If attendees will speak live, have a moderator unmute them one at a time and listen briefly before sending them to the program. For larger events, text questions read by the host create a more predictable audio experience. The trade-off is less spontaneous interaction, but the webinar remains easier to manage and more accessible for attendees.
Treat Audio as a Live Production Signal
The best webinar audio workflow is repeatable. Label inputs, save processing presets, document platform settings, and use the same signal path during rehearsal and the live event. That consistency matters more than adding features at the last minute.
Before the next webinar, make one measurable change: move the microphone closer, reduce room reflections, or monitor the final program feed with headphones. Small corrections at the source are usually the ones your audience hears most clearly.