How to Route Audio Into a Switcher Without Noise
A live cut can look excellent and still fail if the presenter sounds distant, distorted, or out of sync. When you route audio into a switcher, the goal is not simply to get meters moving. The goal is to deliver a controlled program mix that stays intelligible as cameras, speakers, and video sources change.
For a one-person stream, a switcher may only need a single microphone feed. For a worship service, panel discussion, corporate event, or multi-camera studio, it may need to receive a complete mix from an audio console. Choosing the right signal path before the event prevents the familiar last-minute fixes: converter boxes on the floor, overloaded inputs, and audio that reaches the stream a half-second behind the picture.
Choose Where the Audio Mix Happens
The most reliable workflow is usually to mix audio before it reaches the video switcher. A dedicated audio mixer gives you proper microphone preamps, EQ, compression, mute control, auxiliary outputs, and separate mixes for the room and online audience. The switcher then receives a finished stereo program feed and embeds it into the outgoing video signal.
This approach suits productions with multiple microphones, music playback, remote callers, or live instruments. A CKMOVA conference, lavalier, shotgun, or vocal microphone can be connected to an audio mixer or audio interface first, where its level and tone are managed correctly. The mixer output then feeds the switcher as line-level audio.
A switcher can also serve as the main audio hub in a compact setup. This works when there is one presenter microphone, perhaps a computer playback source, and no need for detailed channel processing. Many compact switchers can accept audio from HDMI sources, analog microphone or line inputs, and USB-connected devices. The trade-off is control. You may have fewer EQ, dynamics, routing, and monitoring options than a purpose-built mixer provides.
Know the Signal Level Before You Connect
Most routing problems come from a level mismatch rather than a faulty cable. Microphone level, line level, and consumer-level stereo audio are not interchangeable.
A microphone produces a very low-level signal and normally needs a mic preamp. If your switcher input is designed only for line-level audio, connect the microphone through an audio mixer, mic preamp, or interface. Feeding a mic directly into a line input produces weak, noisy audio because the switcher does not have enough gain to bring it up cleanly.
Line level is what you should send from an audio mixer, wireless receiver with a line output, or playback device to a switcher’s line input. Professional mixers often provide balanced XLR or 1/4-inch outputs, while compact switchers may use 3.5 mm stereo inputs. That may require a correctly wired adapter cable or a balanced-to-unbalanced interface. Do not assume that every XLR-to-3.5 mm cable solves the conversion correctly.
Consumer playback sources such as laptops and mobile devices are typically unbalanced stereo. Keep these cable runs short and separate from power supplies where possible. If you hear hum or digital noise, a ground-loop isolator or DI box may be the correct fix, not more gain.
How to Route Audio Into a Switcher Step by Step
Start with a simple, traceable path: microphone to mixer, mixer program output to switcher audio input, switcher program output to encoder, recorder, or streaming computer. Label each connection and confirm the input type at every stage.
Set the microphone gain at the first device that amplifies it. Ask the speaker to use their real presentation volume, not a quiet soundcheck voice. Set the preamp so normal speech has healthy headroom and loud phrases do not clip. From there, keep later devices close to unity gain whenever possible.
On the mixer, build the mix intended for viewers rather than copying the room mix by default. A room may need louder music and less speech because of loudspeakers in the venue. The livestream mix often needs clearer voice, lower ambient sound, and playback music that does not overpower dialogue.
Send that mix to the switcher through a main output, auxiliary output, matrix output, or dedicated streaming bus. A dedicated output is useful because it lets the operator adjust the online program independently without changing what the audience hears in the room.
At the switcher, select the correct audio source and confirm whether it expects mic or line level. Watch the meters while listening through headphones. Aim for consistent level with room for speech peaks. Red indicators are not a target. If the switcher input clips, lower the output from the mixer instead of pulling down every individual microphone channel.
Finally, confirm the audio embedded in the actual program output. Do not stop at the switcher’s input meters. Check the signal at the recorder, streaming software, confidence monitor, or destination encoder. This catches accidental audio-follow-video settings, muted outputs, and routing mistakes before going live.
Decide Whether Audio Should Follow Video
Audio-follow-video means the switcher changes audio when you change video sources. It is useful for a simple webcam or camera workflow where each HDMI source carries its own audio. For example, a remote guest computer can provide both its picture and voice through HDMI, while a second computer contributes a presentation with embedded playback sound.
For most live productions, keep the primary program audio fixed rather than tied to camera cuts. The presenter’s lavalier should not disappear because the director switches from the wide shot to a close-up. Likewise, a mixer-fed program output should remain active across every camera input.
Use audio-follow-video selectively for sources that genuinely need it, such as a computer video clip, a remote caller, or a camera-mounted microphone used only for quick ambient sound. Make sure these sources cannot accidentally override the main speech mix. A short transition is enough to expose an abrupt level jump or a duplicate audio feed.
Prevent Echo, Double Audio, and Lip-Sync Errors
Double audio usually occurs when the same voice reaches the switcher through two paths. A camera may carry its onboard microphone while the same presenter microphone arrives from the audio mixer. The slight timing difference creates an echo or hollow sound. Mute the unwanted camera audio at the switcher, camera, or source device.
Computer-based productions need special care. If a laptop receives the switcher’s program audio over USB and also sends that same audio back into the switcher, you have created a feedback loop. Use separate buses for program output and return audio, and disable unnecessary monitoring or software loopback functions.
Lip sync is a timing issue, not a gain issue. Cameras, especially those using processing, scaling, wireless transmission, or network delivery, can add video delay. External audio may arrive earlier, making speech appear ahead of the speaker’s mouth. Many switchers, mixers, and streaming applications provide audio delay controls. Add delay to the faster path until speech and picture align.
Do not judge sync from a casual conversation alone. Use a clear visual-and-audio reference such as a hand clap, slate, or spoken plosive while watching the final output. Test on the same encoder and streaming path that will be used for the event.
Build a Monitoring and Backup Plan
A clean routing diagram is valuable, but headphone monitoring is what catches failure in real time. Monitor the final program signal, not just the audio mixer’s control-room output. If possible, assign another person to watch levels while the director operates camera cuts and transitions.
For higher-stakes productions, record audio separately as a backup. A compact recorder can capture the mixer’s main mix, while a second recorder or transmitter can capture a safety track from the presenter microphone. Lower the safety track level so an unexpected shout does not clip both recordings.
Also plan for source failure. Keep a spare wired microphone, a tested adapter cable, and a known-good playback source available. If the switcher supports multiple audio inputs, a backup stereo feed from the mixer can provide a fast recovery path. Equipment redundancy only helps when it has been tested and the operator knows which control activates it.
Match the Workflow to the Production
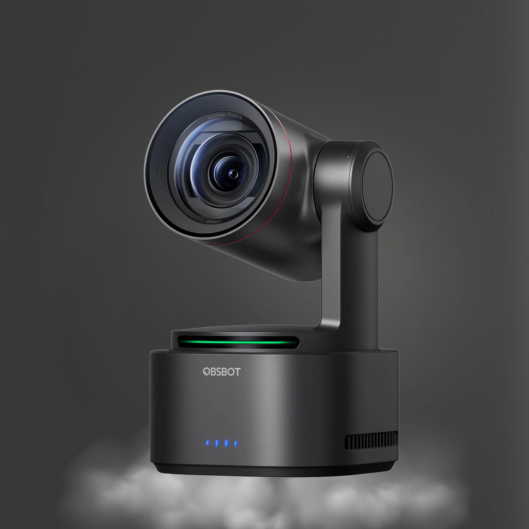
A single OBSBOT camera and compact switcher can use a direct microphone or USB audio workflow effectively when speed and portability matter. A multi-camera setup using 4K cameras, PTZ control, NDI sources, remote guests, and several microphones benefits from a dedicated mixer feeding the switcher with one stable program mix.
There is no single correct route for every production. The right design depends on the number of sources, the required control, the distance between equipment, and whether the event needs a separate room mix and stream mix. Build the audio path around the final listener, then verify it through the exact output they will hear. That discipline turns a collection of cameras and cables into a production system people can trust.